Talking about money can be uncomfortable—but it’s a skill every freelancer needs. Learning how to negotiate your rates with confidence will help you earn what you’re worth, avoid burnout, and build a sustainable freelance business.
In this article, you’ll learn how to handle pricing conversations like a pro—without awkwardness, fear, or giving discounts every time.
Why Negotiation Is Part of Freelancing
- Clients expect to discuss pricing—it’s normal
- Good negotiation leads to fair value on both sides
- It sets the tone for a respectful client relationship
- Underselling leads to stress, resentment, and burnout
You’re not being “difficult” by asking for what you deserve—you’re being a professional.
Step 1: Know Your Value (and Be Able to Explain It)
Start with clarity about:
- What you do well
- What results you help clients achieve
- Why clients choose you over cheaper options
Think like this:
“I help e-commerce brands increase sales through SEO-optimized blog content.”
That’s more powerful than just “I write articles.”
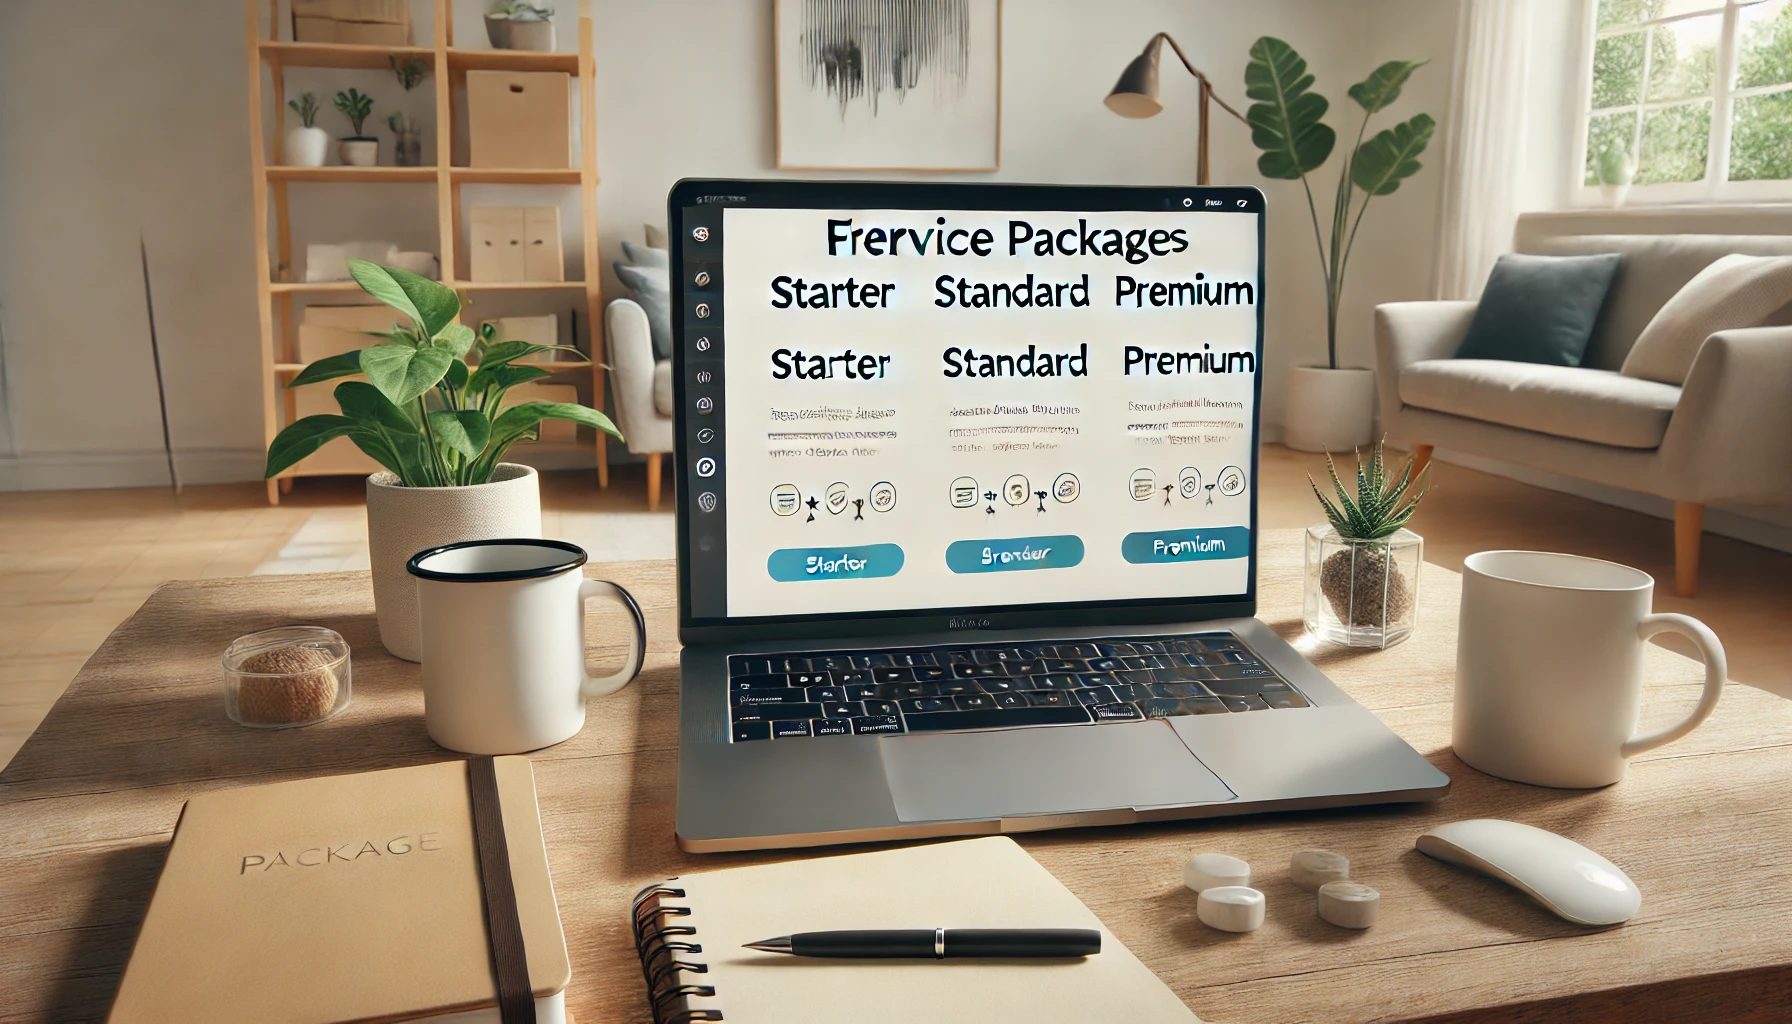
Step 2: Set a Clear Pricing Structure
Having a pricing structure builds confidence and makes you sound professional.
Decide whether you’ll charge:
- Per project (preferred for clarity)
- Per package (bundled services)
- Per hour (only when necessary)
Tip:
Have a “starting at” rate ready:
“My blog writing packages start at $250 for 1,000 words.”
This sets expectations without boxing you in.
Step 3: Practice Saying Your Rate Out Loud
Seriously. Practice in the mirror or with a friend.
Say it like it’s normal. Because it is.
“This project would be $800, with two rounds of revisions included.”
“I offer monthly support packages starting at $450/month.”
If you say it with confidence, the client is more likely to accept it without question.
Step 4: Ask About Budget (But Don’t Rely On It)
When a client says, “What’s your rate?” it’s okay to ask back:
“I’d love to tailor something to your needs—do you have a budget range in mind?”
This gives you context. But don’t lower your rate just to match their number. Instead, adjust the scope or deliverables.
Step 5: Be Ready to Justify the Investment
If a client pushes back, don’t panic. Explain the value, not just the price.
“This rate reflects the time, strategy, and quality I put into creating content that gets results.”
“I focus on more than just visuals—I help brands build trust and conversions through design.”
People are more likely to agree when they understand what they’re paying for.
Step 6: Don’t Apologize for Your Prices
Avoid:
- “Sorry it’s a bit high…”
- “Let me know if that’s too much…”
- “I can offer a discount if needed…”
You don’t need to justify your survival.
Instead, try:
“Let me know if that fits your budget, and we can go from there.”
Step 7: Be Flexible With Scope, Not Price
If a client has a tight budget, offer less work, not less value.
Example:
- Fewer blog posts per month
- Shorter video/audio editing
- Simplified design package
- Less intensive revisions
This keeps your rate intact while meeting their needs.
Step 8: Use Contracts to Protect Your Time
A signed agreement helps avoid scope creep or payment issues.
Include:
- Scope of work
- Deliverables
- Timeline
- Payment terms (50% upfront is common)
- Revision policy
Tools: Bonsai, HelloBonsai, And.Co, Notion templates, or Google Docs.
Step 9: Know When to Walk Away
Some clients won’t be a fit. That’s okay.
If someone lowballs you, ghosts you after you quote, or refuses fair terms—it’s a red flag.
Say:
“I understand if this doesn’t align with your current budget. I wish you the best on your project.”
Your time is valuable. Don’t waste it convincing people who don’t respect that.
Final Thoughts: Confident Negotiation Is a Business Skill
Freelancers who negotiate well: ✅ Get better clients
✅ Avoid resentment
✅ Work less, earn more
✅ Feel more in control
The goal isn’t to win a battle—it’s to create a fair exchange of value. You offer skill, time, and care. The right clients will pay for that.
<script async src="https://pagead2.googlesyndication.com/pagead/js/adsbygoogle.js?client=ca-pub-2279398284277561"
     crossorigin="anonymous"></script>